We closed on our new house the Friday before Christmas at 5pm. Given the time constraints with the holidays we were moving in the next 15 hours, no matter what. We hired movers for 8am on Saturday, which left us with a tough decision. Do we tile our kitchen back splash before we move in or after we move in?
I had read a few other posts about tile mat products, which eliminates the mortar step from the tiling process. You can check out this one or this one here. We were feeling a little nervous about how durable and the long-term strength of the material, but decided to give it a try. The worst that could happen is our back splash starts to fall off the wall and we have to re-do it using mortar.
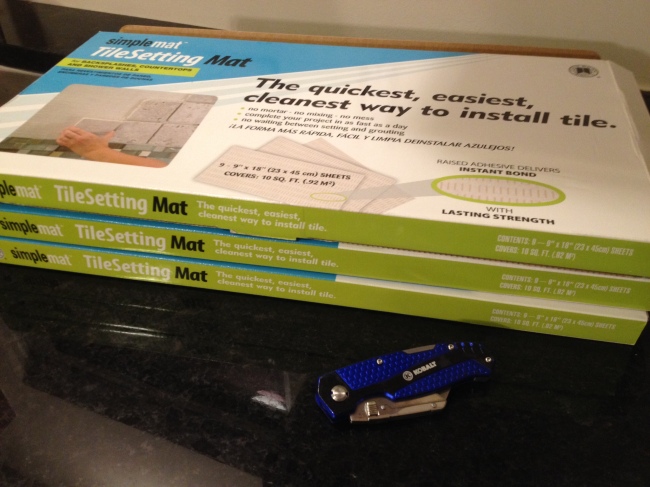
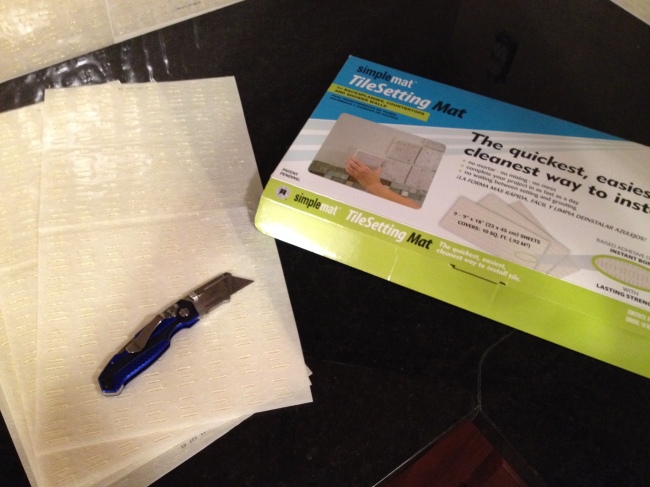
So I went to the hardware store and found these precut tile setting mats by Simplemat.
They also had a version on a roll, but I figured this would go up faster since less cuts would be involved. Another handy feature is they tell you exactly what to buy to get the job done- a float, spacers and grout. I bought these items along with way too many boxes of white subway tile about 30 minutes before our closing. After closing, I dropped my husband off at our new house to get started on the prep work.
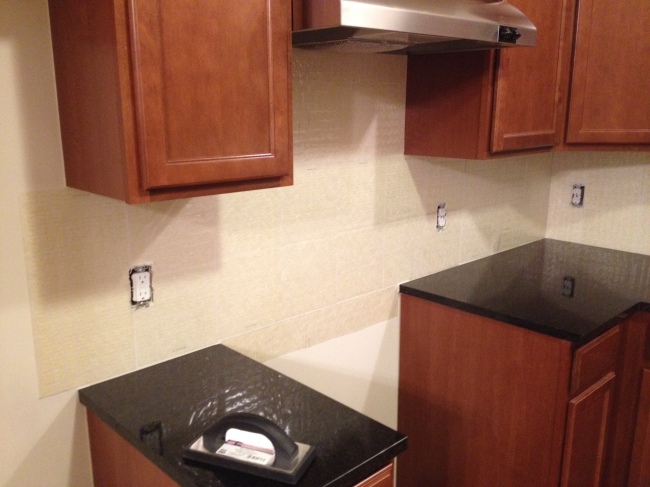
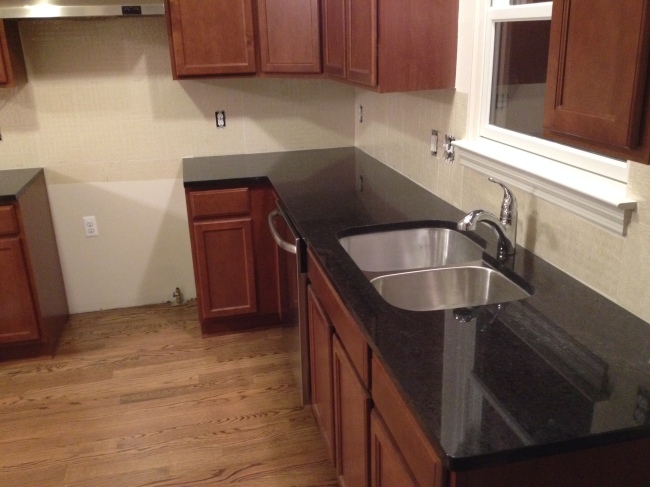
He was able to get the mats up pretty quickly around our 10ft x 10ft kitchen:
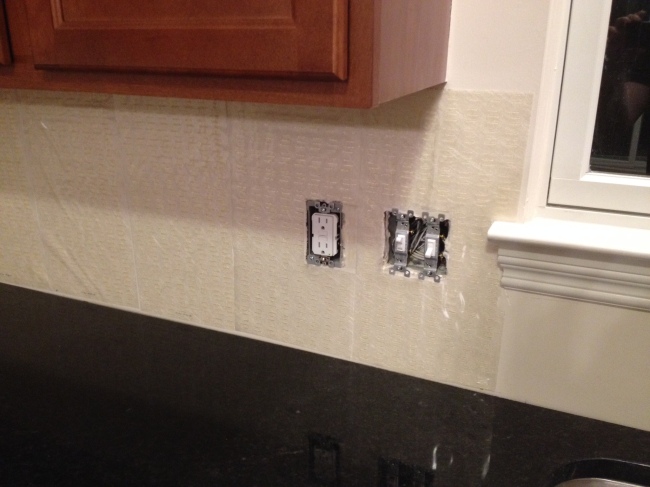
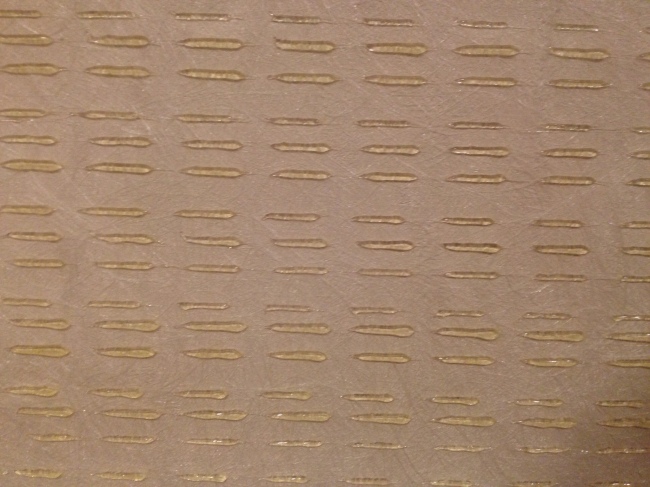
I know, it is really hard to see the mats they are almost invisible. Here is an up close look:
And this is where the photo documentation stops. We had borrowed a tile cutter from my mother in law, but my husband decided a wet saw would go faster. So he called up one of his friends and they made a 40 minute drive round trip drive to pick it up.
I stopped at home to put our toddler to bed with Grandma, but an unexpected surprise happened. Lucas had a party at school earlier in the day where I assume he ate way too much junk food. Just before bed he started to feel sick. And I’ll stop right there and let your imagination do the rest.So my husband was on his own to tile the rest of the evening.
I estimate it probably took him 6-8 hours to get the tile up. Using spacers, making cuts, plus grouting the entire area. I didn’t take a picture of the grout, but we used a medium gray color that was unsanded. We also bought the pre-mixed kind to save time and the mess.
Our conclusion is that using a tile mat a 10ft x 10ft backsplash is doable in one evening if you wanted to work 5pm to 11pm. We are not experts at all and he has only tiled a few times before. I’m sure someone with more experience could go faster. With mortar, our back splash in our old house, which had a much smaller kitchen, took about 3 days.
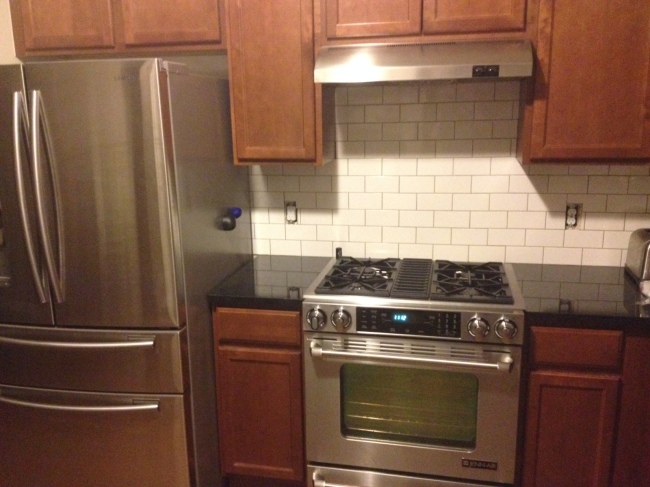
On Saturday morning, here is what the finished product looked like. We are missing some finishing work like outlet covers and caulk around the edges, but it looks pretty good.
We’ve only been living with it for about a week, but the tile feels solid and you would never know by looking at it that no mortar was involved. I’m crossing my fingers that this lasts for the long haul, but we’ll see how it goes.
Has anyone else used a tile setting mat? What were your experiences?
