How to tile a kitchen backsplash in one long evening

We closed on our new house the Friday before Christmas at 5pm.  Given the time constraints with the holidays we were moving in the next 15 hours, no matter what.  We hired movers for 8am on Saturday, which left us with a tough decision. Do we tile our kitchen back splash before we move in or after we move in?

I had read a few other posts about tile mat products, which eliminates the mortar step from the tiling process.  You can check out this one or this one here. We were feeling a little nervous about how durable and the long-term strength of the material, but decided to give it a try.  The worst that could happen is our back splash starts to fall off the wall and we have to re-do it using mortar.

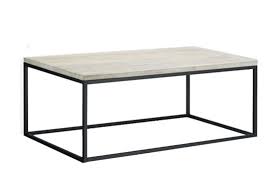
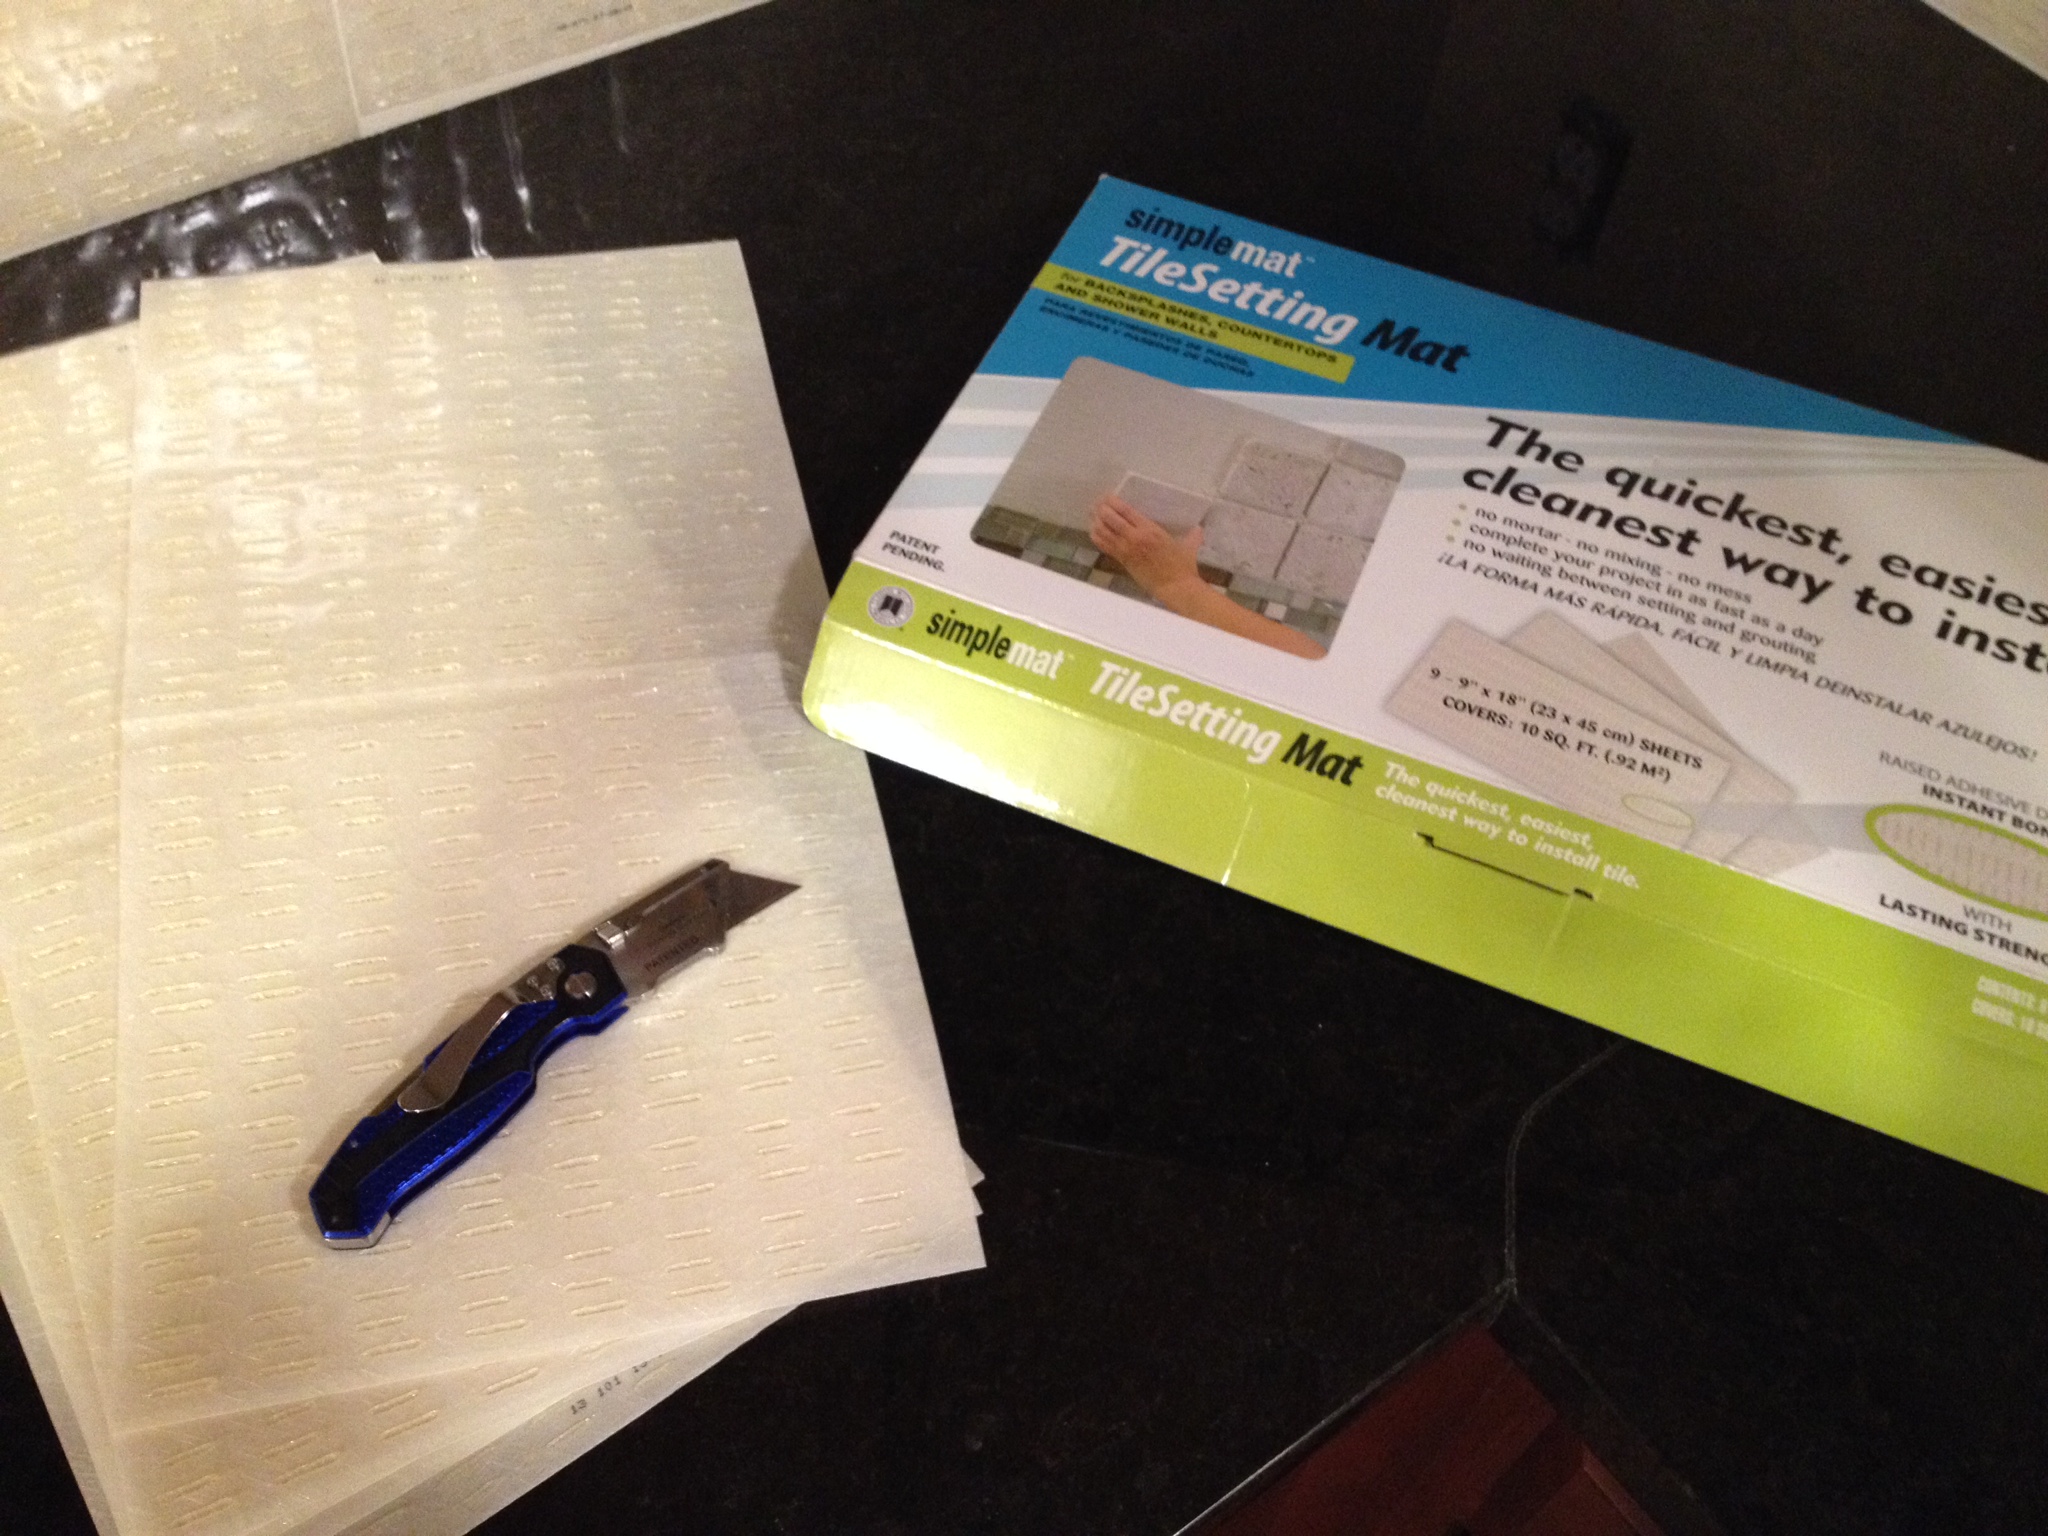
So I went to the hardware store and found these precut tile setting mats by Simplemat.

Image

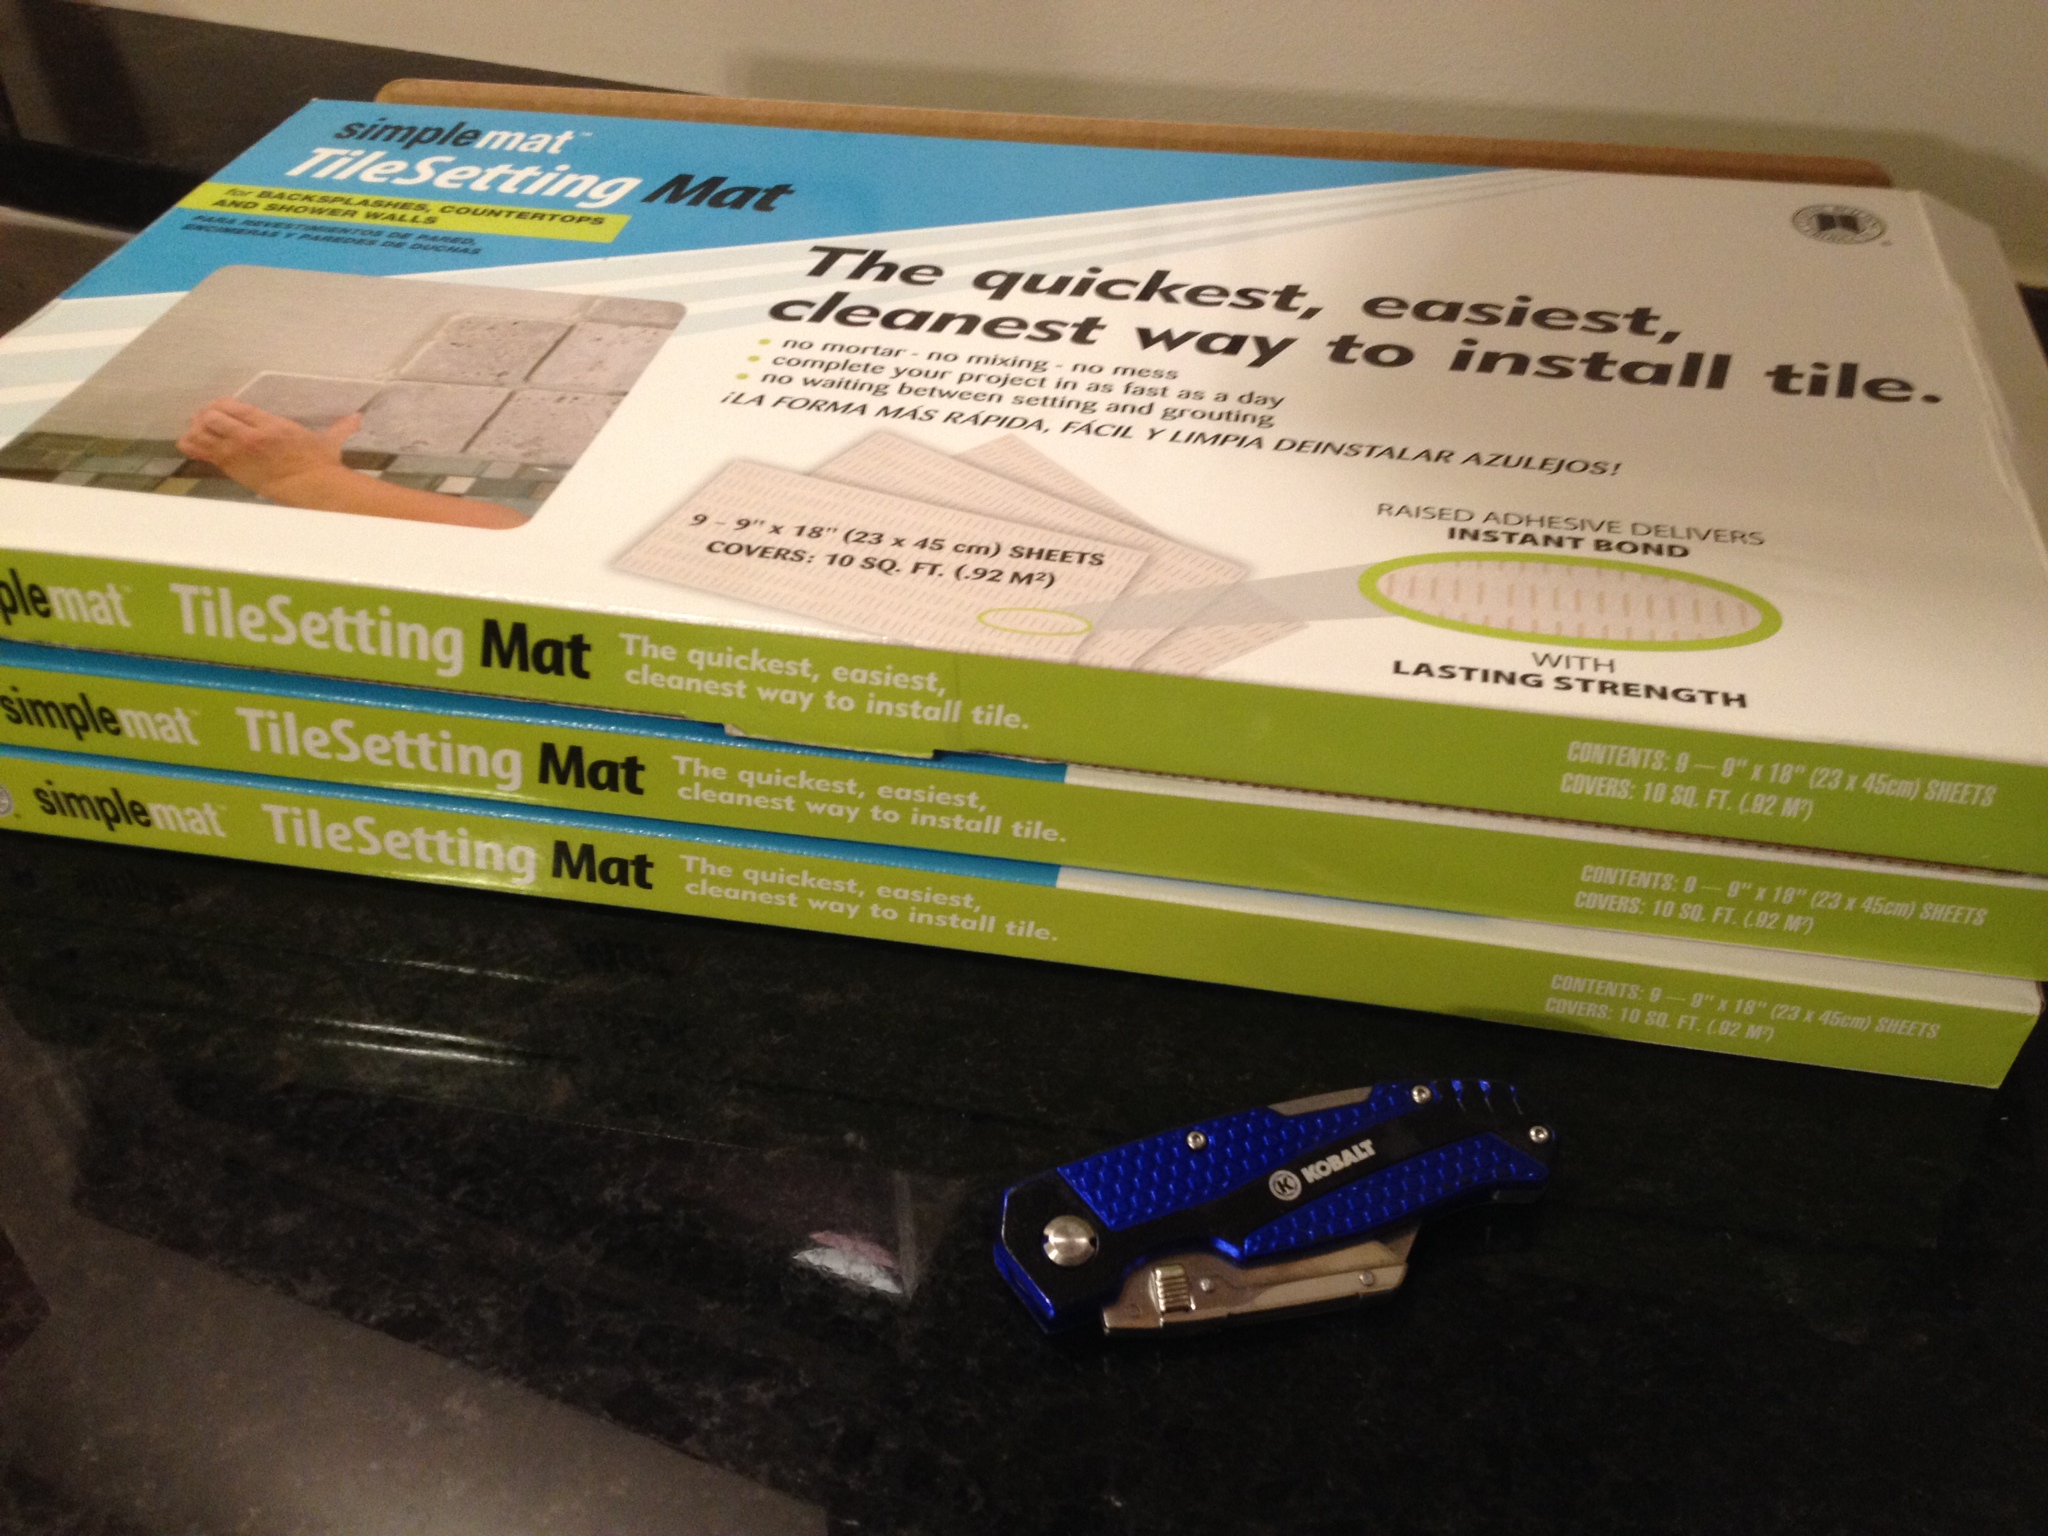
They also had a version on a roll, but I figured this would go up faster since less cuts would be involved.  Another handy feature is they tell you exactly what to buy to get the job done- a float, spacers and grout.  I bought these items along with way too many boxes of white subway tile about 30 minutes before our closing.  After closing, I dropped my husband off at our new house to get started on the prep work.

Image

He was able to get the mats up pretty quickly around our 10ft x 10ft kitchen:

Image

Image

Image

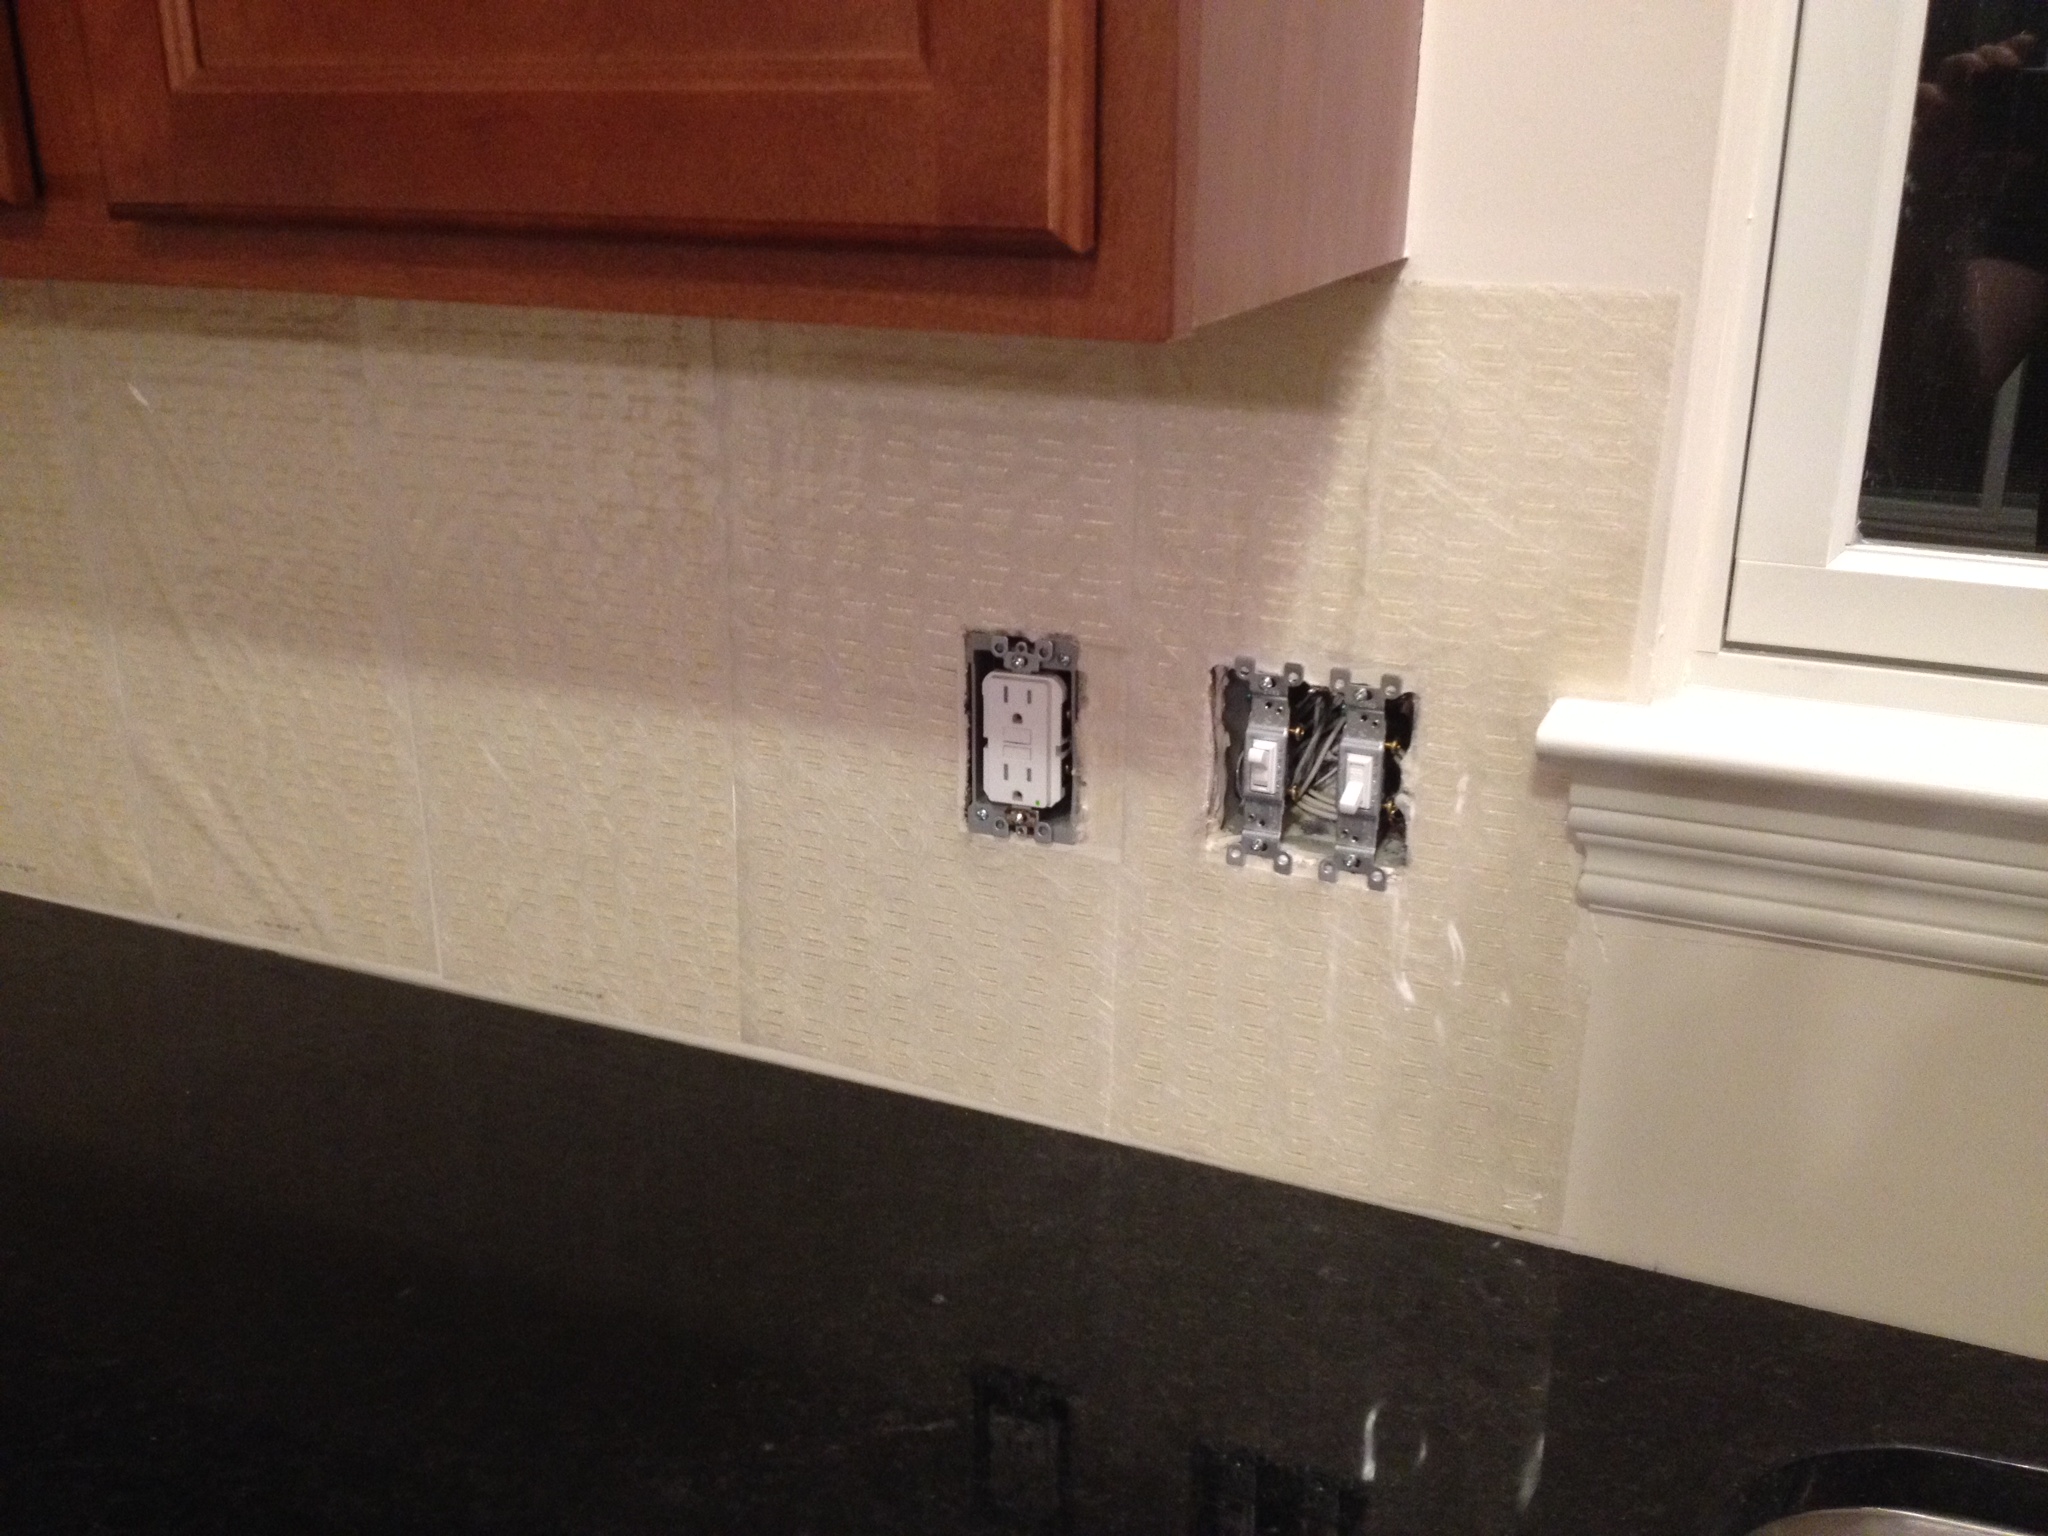
I know, it is really hard to see the mats they are almost invisible.  Here is an up close look:

Image

And this is where the photo documentation stops.  We had borrowed a tile cutter from my mother in law, but my husband decided a wet saw would go faster.  So he called up one of his friends and they made a 40 minute drive round trip drive to pick it up.

I stopped at home to put our toddler to bed with Grandma, but an unexpected surprise happened.  Lucas had a party at school earlier in the day where I assume he ate way too much junk food.  Just before bed he started to feel sick.  And I’ll stop right there and let your imagination do the rest.So my husband was on his own to tile the rest of the evening.

I estimate it probably took him 6-8 hours to get the tile up. Using spacers, making cuts, plus grouting the entire area. I didn’t take a picture of the grout, but we used a medium gray color that was unsanded.  We also bought the pre-mixed kind to save time and the mess.

Our conclusion is that using a tile mat a 10ft x 10ft backsplash is doable in one evening if you wanted to work 5pm to 11pm. We are not experts at all and he has only tiled a few times before. I’m sure someone with more experience could go faster. With mortar, our back splash in our old house, which had a much smaller kitchen, took about 3 days.

On Saturday morning, here is what the finished product looked like. We are missing some finishing work like outlet covers and caulk around the edges, but it looks pretty good.

Image

We’ve only been living with it for about a week, but the tile feels solid and you would never know by looking at it that no mortar was involved.  I’m crossing my fingers that this lasts for the long haul, but we’ll see how it goes.

Has anyone else used a tile setting mat?  What were your experiences?

2013 Christmas Recap

I’ve been absent the past two weeks because we have officially moved into the new house!  I am working on taking some photos for a virtual tour, but in the meantime I wanted to recap Christmas.  We made it just in time to host brunch on Christmas morning.

On December 7, Lucas had a visit with Santa.  We couldn’t convince him to sit on Santa’s lap, but he was fine to sit on Daddy’s lap next to Santa.  We’ll see if next year by age 3 he is ready to cozy up to the big guy.

IMG_1854

We closed on the new house Friday, December 21st, so just a few days before Christmas.  My husband stayed up all night tiling our backsplash in the kitchen. At 8am on Saturday, movers came to help us haul some of the big furniture and appliances.  Our fridge barely fit through the front door (they had to take the handles off) and we ended up calling an electrician to install our fancy stove on December 23rd.  More details on those stories another time!

Just two days before Christmas, we went to Pottery Barn to get curtains for the front window and stopped by Macy’s to write a letter to Santa:

IMG_1894 IMG_1900

Just in time for Christmas Eve, we put our tree up and unpacked the ornaments.

IMG_1905

Here’s a close up of the Santa Sack with all of the presents inside:

IMG_1904

And our stockings:

IMG_1906

This is another view of the tree and stockings all lined up and ready for Christmas morning:

IMG_1912

Santa was very good to all of us this year.  Including a brand new house, Santa brought my husband and I matching mini Android tablets in our stockings.  My husband gave me a Le Creuset dutch oven, which I’ve already used twice now.  I have big plans tonight for Beef Bourguignon I may just have to document this cooking experience for everyone. I gifted him a new pair of jeans and a Starbucks Verismo coffee maker, which is also getting a lot of use.

But the real star of Christmas was Lucas who received every Batman toy under the sun between Santa and his loving relatives.  It is a balance, because it is so exciting watching him open gifts but I don’t want to overdo it on Christmas for the cute little kiddo.  One of his big gifts was a LeapFrog tablet from his GiGi.

Lucas made some Christmas napkins for his Grandmas.  Basically, we took fabric paint and turned his cute little finger prints into either reindeer or trees.  There were a few napkins that I just let him go crazy on with paint to get his energy out before focusing on keeping the gift napkins clean.  Or as clean as you can get with a 2 1/2 year old.

IMG_1889 IMG_1890

Overall, they turned out pretty cute and it has continued our tradition of finger paint projects.  Last year we made Christmas lights on canvas with his little fingerprints similar to this project.

How was your Christmas?  Did anyone else move during the holidays?

Downtown Plymouth

Over the weekend I stopped in downtown Plymouth. It was snowing pretty hard and as I was driving I could feel how heavy and wet it was getting.  It is our first big snowstorm of the year in southeast Michigan:

IMG_1883

IMG_1884

I stopped at one of my favorite little shops in downtown Plymouth to pick up some Tempaper for our powder room.  I’ll share more about my plan for that next week.

Haven (the shop) was all decorated for Christmas and it felt magical:

This slideshow requires JavaScript.

Coffee table

I took the whole day off work on Friday.  We had our final inspection in the afternoon, but that morning I ran to the Pottery Barn Outlet, which is about an hour away from my house.  My mother-in-law came along and we also made a stop at Bronner’s. I was in too much of a hurry and forgot to take pictures #bloggerfail.  I did purchase a few ornaments for our tree, but I’ll share about those another time.

Did you know that Pottery Barn, West Elm and Williams-Sonoma are all part of the same company?  Well, the Pottery Barn Outlet at Birch Run has items from all three of these stores for sale. The nearest West Elm store is probably Chicago, so this is a way to find West Elm items a little closer to home and at a wonderful price.  This summer I scored an awesome mid-century bed for my son.

When I first came into the store, I spotted this Pottery Barn Parquet coffee table. It retails for $799, but the outlet had it on sale for $440. There were also some matching end tables available:

Pottery-Barn-Parquet-Coffee-Table

In the end, even with the heavy discount $440 is still more than I wanted to spend on a coffee table.  So I was feeling a little sad until I spotted this guy:

West Elm Box Frame Coffee Table

This is the West Elm Box Frame Coffee Table.  It normally sells for $349.  The outlet had marked it down to $178 plus they were having an additional 20% off sale. I got the table for around $150 total. It is smaller in scale, which means it would fit in the back of the Subaru Outback I had driven to the outlet mall without a problem.

Overall a very successful trip and I need to go back again soon to look at a few more things.  Like a $99 mirror for my powder room, $14 Christmas stockings and some really amazing coat racks and lamps.

PS- if you like the Pottery Barn coffee table, check out this link with a close alternative option for less than even the outlet price

New House Final Walk Thru

Today we had our final walk through of our new house and private home inspection. It went very well! We made a punch list of items that need attention over the next week before we move in. Mostly touch up paint, but a few other things like a cabinet door that was installed backwards and an air filter for the furnace.

Overall, we are so excited and can’t wait to start moving in!  Enjoy this slide show:

This slideshow requires JavaScript.

Inspections and Insurance

Oh the joys of homeownership!  Inspections and insurance. I spent way too many hours today on the phone with insurance companies trying to get the best rate on homeowners insurance. The task of haggling and comparing quotes is exhausting, but the cost-savings makes it worth it in the end. Another item on my “to do” list was to nail down a private home inspector.  Our home inspection and final walk through are both this Friday.

When I lived in Phoenix, I took a homebuyer education class through a neighborhood housing association.   It was an 8 hour class and I am so glad to have saved the textbook for future reference. I pulled it out today to refresh my memory on how to compare insurance quotes.   If a homebuyer education class is offered in your local area, I highly recommend you take it.  I would be weary of any course offered through a mortgage broker or other for-profit group using it as a sales tool. Just do your research and make sure it is with an unbiased organization like a local community college or neighborhood housing service group.   

I’ll be back on Friday night to share photos from our inspection.  I am so excited!!

Two weeks until closing…

Today I went to the builder’s office to sign a form for our certificate of occupancy!  Inspections are this week and the appraisal is on Saturday. We are hoping to close next week on either Thursday or Friday.  We will finally move in, just 5 days before Christmas.

I can’t believe it started with this hole in the ground 16 weeks ago.

Breaking Ground

But it all really began 7 months ago when we sold our first house and we signed our initial paperwork to build this new one. I am planning a post about our first house soon.  It was a tiny house at 672 square feet with 2 bedrooms and 1 bathroom. The location was ideal, but with a growing toddler it just could not have worked for the long-term. I loved that house despite its size and it turned out to be a cute little cottage when we finished our renovations.

The preparations for moving will begin shortly.  I first need to nail down a few items for closing like homeowners insurance and scheduling our utilities to be turned on. Any moving tips you have are appreciated!

Santa Sack

A Brooklyn Limestone posted a free printable earlier this week for this adorable Santa Sack.

It was the perfect answer to a question I’ve been struggling on. How does Santa get into our new house without a chimney or fireplace? This santa sack could be the answer!  Maybe Santa drops presents off in a sack for each child and leaves it at the front door for parents to bring inside and set under the tree? It could work…

I don’t attempt craft or art projects very often, but this was just too cute not to try. I ordered the exact same laundry bag that was used in by A Brooklyn Limestone, which arrived in the mail yesterday along with some iron on transfer paper.

Transfer Paper

First step was making sure my printer had ink.  Black was low so I used gray for the text that was supposed to be black.  I also remembered to print everything as a mirror image on the transfer paper.

Graphics reverse printed

While I was printing, the laundry bag was washed and dried on high heat.  I also ironed the bag and let it cool completely before getting started. I did a rough layout on the table while I waited for the bag to cool down:

Fixing comma on bag

After the bag was cool, I placed a cardboard box underneath the sack for ironing.  The instructions on my package of iron on transfer paper were pretty clear that you should not use an ironing board or towel, only a flat and sturdy surface. I asked my husband to do the final layout because he tends to keep things straighter than I do:

Laying out the santa sack

And right here my friends is where we made a huge misstep.  He put the word in backwards order.  So for example, you’ll see the words are lined up to say “delivery overnight” instead of “overnight delivery”.  I had the job of ironing and I did not catch the mistake.  I was so focused on ironing everything evenly on high temperature that I did not even look to see the order had changed. Here is our imperfect finished Santa Bag:

Completed Bag

What finally made us realize the typo was the random comma that was out of place when we peeled off the top layer of transfer paper. My husband was able to scrape it away with a razor blade, but the order of text still hardly makes sense:

Text Error

My son Lucas is only 2 years old, so he is not really going to notice for the moment.  This year, we are going to use our imperfect Santa Sack to see if he likes it. If it makes sense we’ll re-make the bag with the correct order and placements of words. But overall I think it turned out pretty cute, typos and all.

Affordable Blue Living Room

I have been really in to the color blue lately, as evidenced by this blue Christmas list and this blue toddler room. And today I bring you a blue living room board. I’m so predictable…

Living Room PB Sofa Cost

My goal is to try to furnish the living room for around $1,500, which would’ve been the cost of our new sofa at Macy’s that I recently returned. Using this combination of our existing furniture plus new items from Target and IKEA it is possible to stay on-budget. My first living room board was posted earlier this week, but I think I am liking this one a bit more. Here is how I would use the items:

The IKEA chair is actually quite comfortable, especially considering the price.  In my old house I bought similarly priced chairs that were so stiff I just hated sitting in them.  I don’t want to make that mistake twice, we ended up selling them at our garage sale. I may purchase two of the chairs to create a little conversation area on the far wall.

Our front window is huge (72in x 72in) so I would layer the two sets of drapes with the navy on the outside and the white on the inside.  They come in the 108″ length so for the price they are a steal.  It is very difficult to find reasonably priced drapes for that large window size.

The Target pillow is the right color and ties in from a pattern perspective with the drapes.  They are also an absolute steal on sale for $14 for an 18×18 inch pillow.  I’ll probably buy two of these for the sofa.

The mid-century coffee table is actually the perfect size for the sofa and is not too wide since the room is long and narrow.  The matching tv console will help the two pieces feel a little more intentional against the more traditional sofa and leather chair.  The blue chairs are more mid-century in their shape and style.

Gold tables add a little fun accent to the room.  I’ve actually already bought two of the square tables and one of the gold tray table.  They are sitting in the garage for the moment waiting until we move.  The gold square tables are part of Nate Berkus’ line for Target and are sold only in stores so I wanted to make sure I grabbed those before they are gone.

I tend to wear a lot of navy clothing, so this room feels like my style.  Navy is a great “neutral” to pair with other accessories and fun colors.  Kelly green, a preppy pink, chartreuse, golden-yellow or burnt orange all look nice paired with the navy. This neutral base of furniture is a great start to get us moved in at the new house before I add other colors in the accessories. I might move forward with this plan, but we’ll see, I could still change my mind….